Example Lead Paint Projects in Lakewood, Washington

Every example below starts with an older home and a question about its paint, then sets out the testing, the work, the time it takes and an approximate cost. Nearly 6 in every 10 Lakewood homes were built before 1980, and just over half are rented, so the examples include landlords as well as owners.

None of them describes a past job, client or address. They are assembled from the age of local housing, the order the work normally follows and current price ranges, to give a fair picture before you ask for a quote.

Rental turnover in a 1960s duplex

Example project
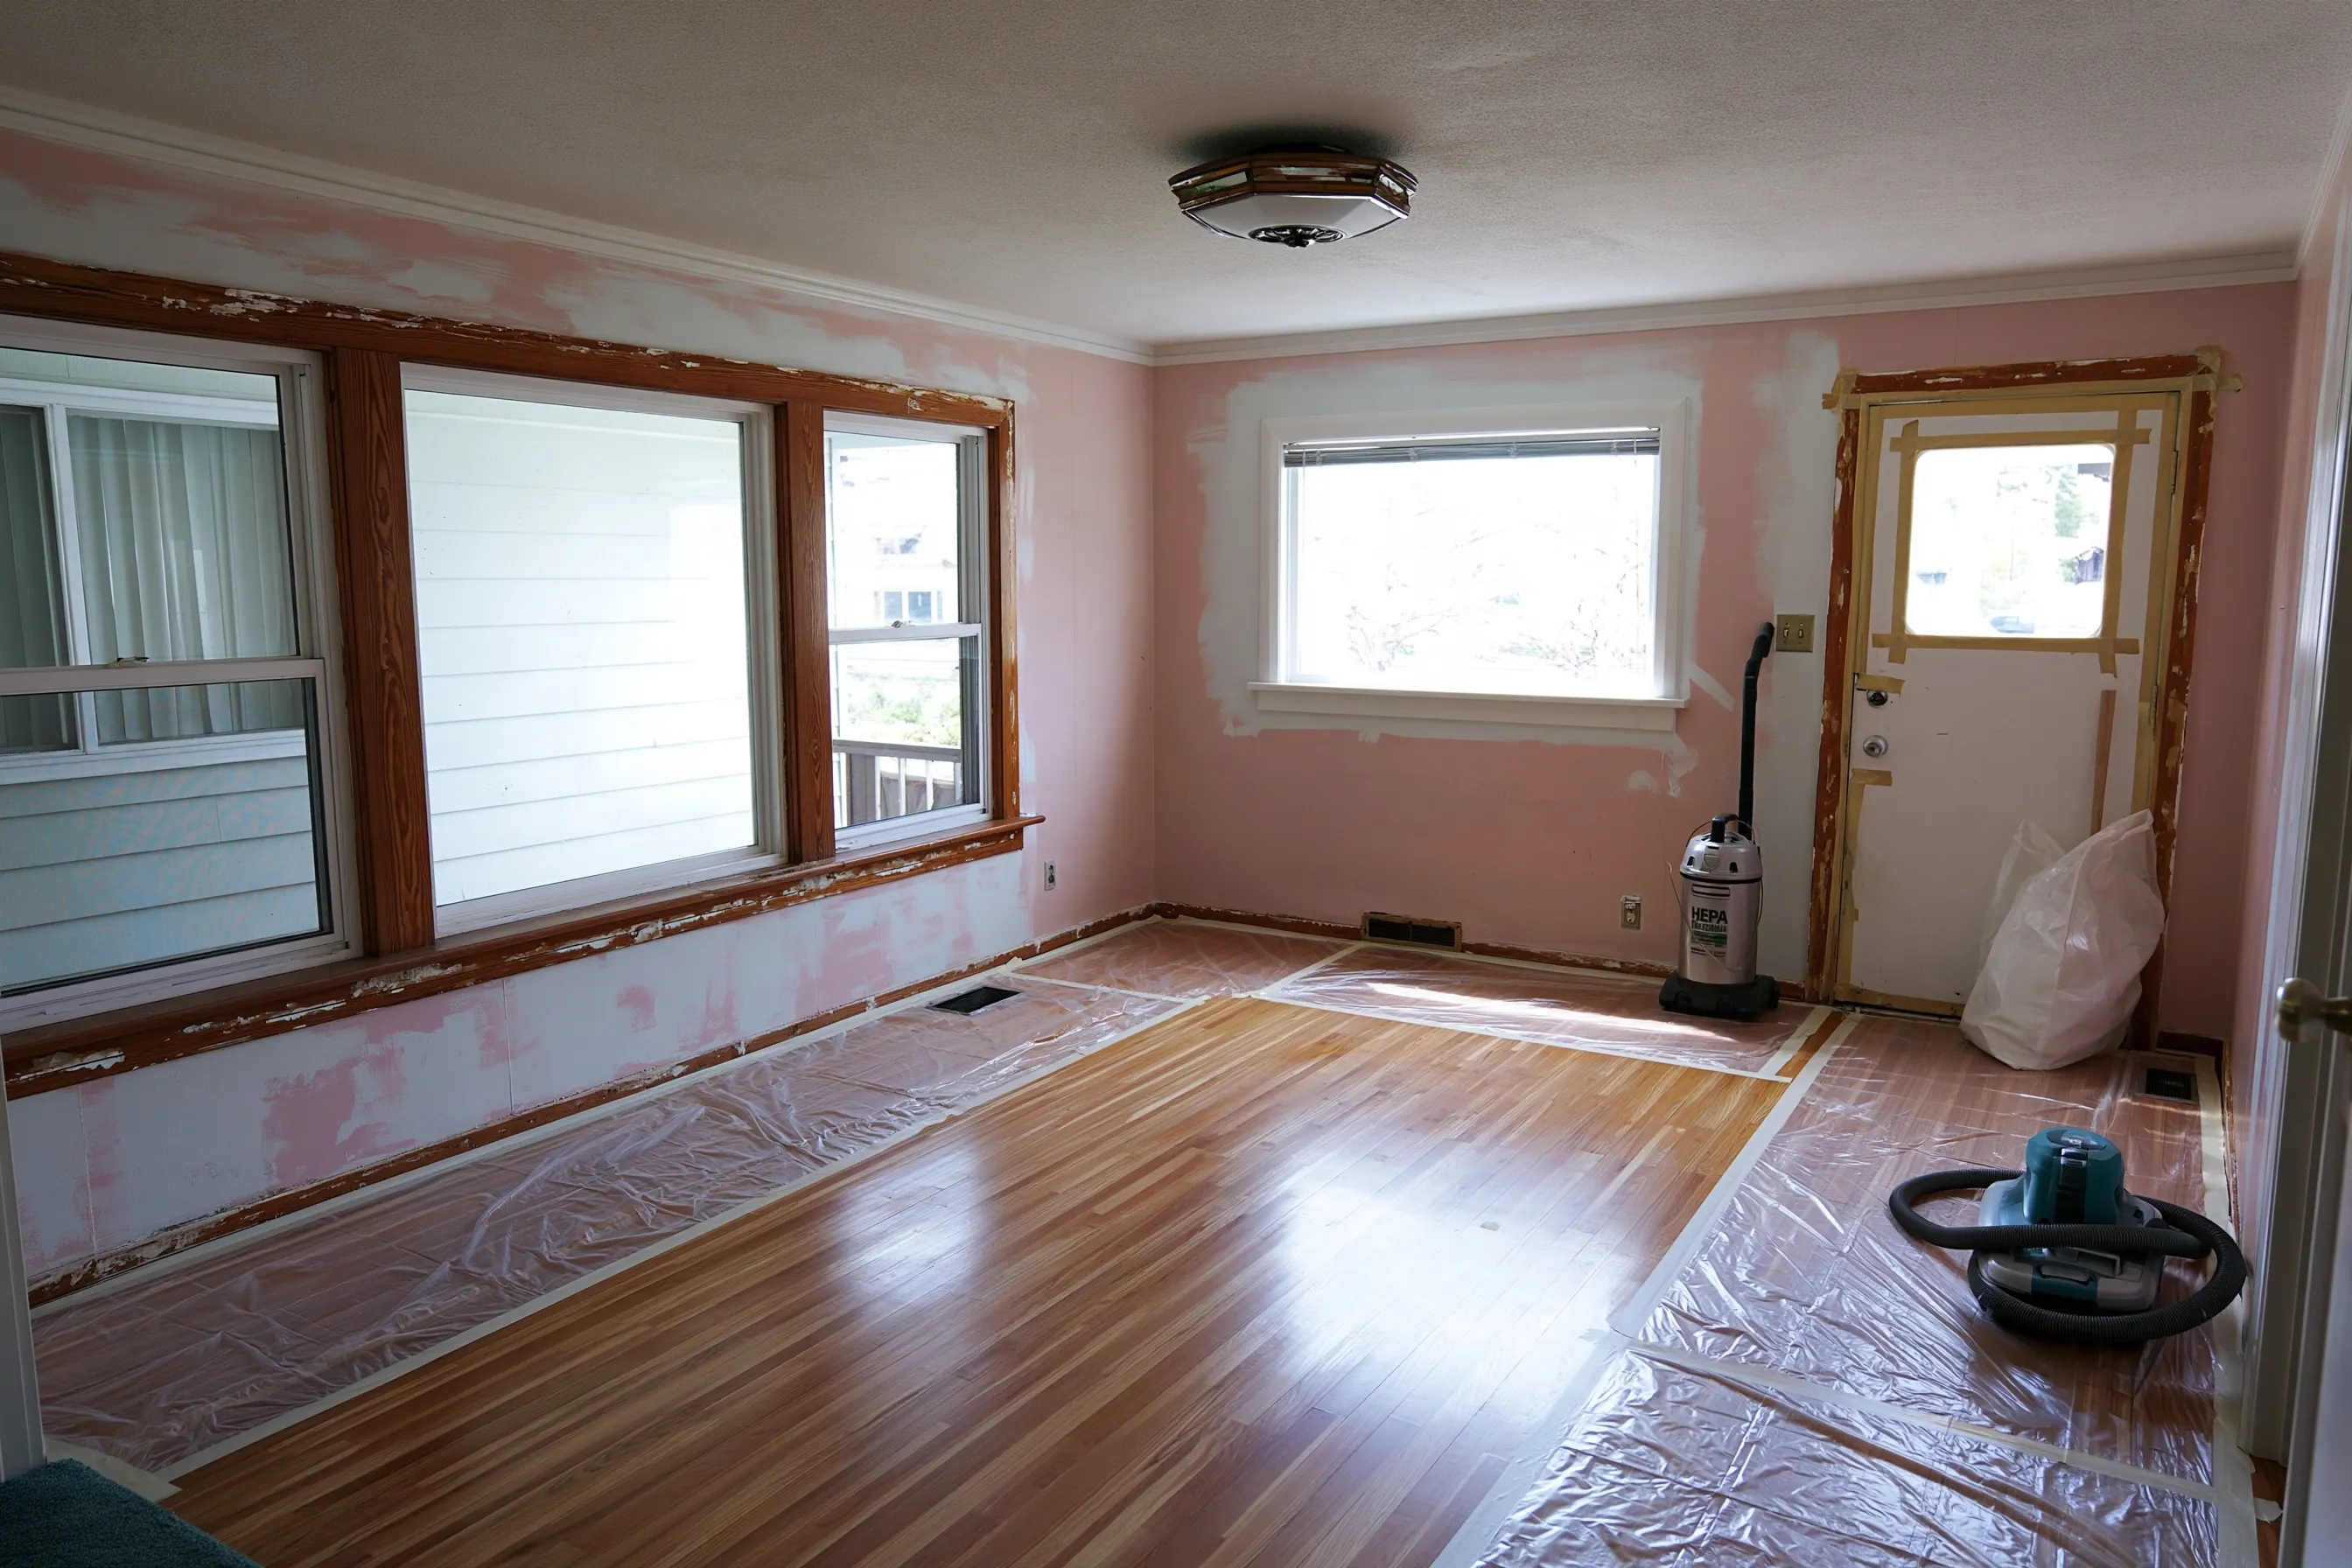
Empty living room with plastic runs under the windows, scraped window trim, patched walls, a taped back door and two vacuums
Home
1960s duplex in Lakewood, two units of about 900 sq ft each
Original request
Fix peeling paint in one unit between tenants and have records ready for the next lease
Testing
A risk assessment found peeling lead paint on the living room window sills and trim, patches of wall and the back door
Area
About 100 sq ft of painted surfaces in one unit
Work
Lead-safe repair, specialized cleaning and a clearance test
Timeline
Three working days, then lab results two to five working days later
Estimated cost
$3,100

Scope of work

Plastic over the floors and across the doorways of the work rooms, peeling paint misted and scraped off by hand, the flaking wall spots patched, sills, trim and the back door primed and painted, HEPA vacuuming and wet wiping of every surface, a clearance test with dust samples from floors, sills and window troughs, and the reports filed by unit. The earlier risk assessment is priced on its own line.

Project overview

In this example, a landlord has one unit of a 1960s Lakewood duplex empty between tenants. A risk assessment of the unit found lead paint peeling on the living room window sills and trim, in patches on the walls and on the back door, about 100 square feet in all.

The gap between tenants is the easiest time to fix it. The repair runs under Washington lead-safe rules, and because the unit is empty no one has to move out. A clearance test at the end gives the landlord a clean result to hand the next tenant with the lead paperwork.

The goal

The goal is a unit ready to rent, with the peeling paint fixed, a passed clearance test and the paperwork in order for the next lease.

Process

  1. Before work Risk assessment report reviewed and the work rooms marked on a plan of the unit.
  2. Day one Plastic down, peeling paint misted and scraped by hand, chips bagged.
  3. Day two Wall patches finished; sills, trim and the back door spot-primed, then painted.
  4. Day three HEPA vacuuming and wet wiping of every surface, then dust samples for the clearance test.
  5. Two to five days later Results from the lab; any room with a failed sample gets a second clean and a new sample.

Planning right

  • Book the work for the gap between leases. An empty unit costs less to protect and clean.
  • Window troughs, the channel the lower sash sits in, hold the most dust and fail clearance most often.
  • Keep every report by unit and date. Each new tenant of a pre-1978 unit is owed the lead information you have.
  • The other unit was built at the same time, so a test there is worth booking before its next turnover.
Get a free quoteMore about lead hazard control for rentals

Lead-safe paint removal on a small front porch

Example project

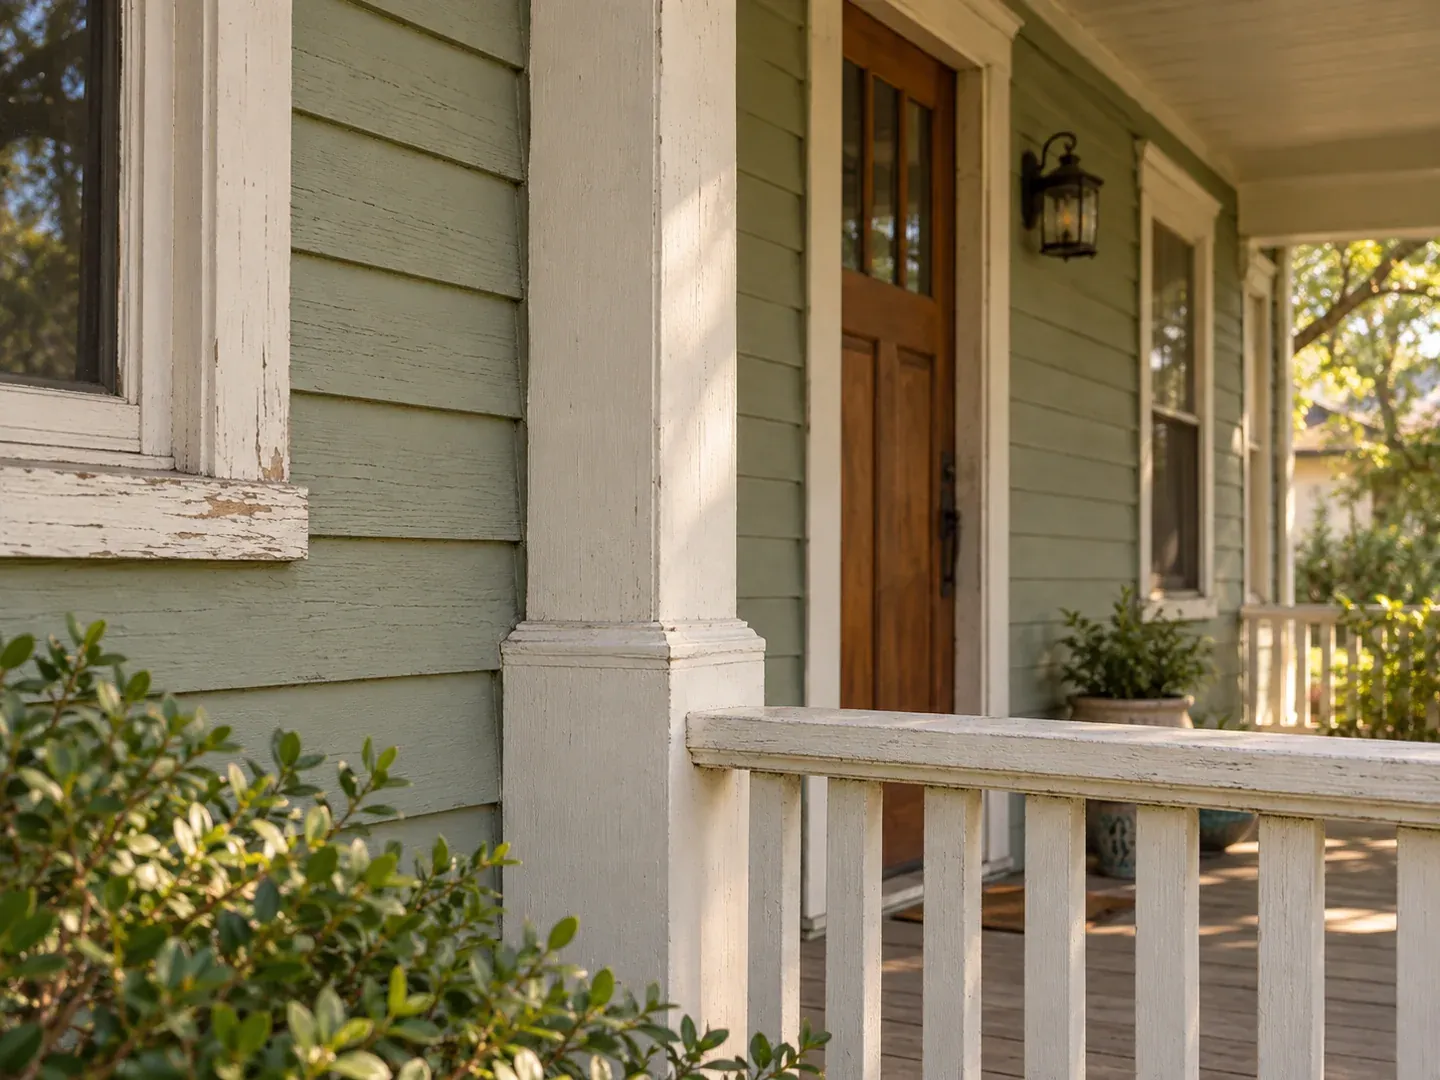
Painted lap siding, a white porch post and railing beside a wood front door, with worn paint on a window sill
Home
Single-story 1960s house in Steilacoom, outside the Historic District, with a covered front porch
Original request
Repaint the porch, where the white paint is worn through on the post and railing
Testing
Lead paint in the white paint on the post, railing, door casing and window sill
Surfaces
Porch post and railing, front door casing and one window sill and trim, about 150 sq ft
Work
Hand scraping with a water mist, HEPA sanders on the edges, then primer and two coats
Timeline
Three working days without rain, booked for summer
Estimated cost
$3,400

Scope of work

Heavy plastic on the porch deck and along the wall below it, the front door and window shut, worn paint misted and scraped off by hand, edges smoothed with a sander fitted to a HEPA vacuum, chips picked up each evening, then primer and two coats on the post, railing, casing and sill. The siding is left as it is.

Project overview

In this example, the owners of a 1960s house in Steilacoom, outside the Historic District, want to repaint the front porch. The white paint on the post and railing is worn through to bare wood, and a test shows it is lead paint, as is the paint on the door casing and the window sill.

This is a repaint, not abatement, so it runs under Washington lead-safe rules for renovation. The difference from an ordinary repaint is in the prep. Nothing is dry-sanded or power-washed, the plastic stays down until the last chip is picked up, and the work waits for days without rain so the plastic stays in place.

The goal

The goal is a porch post, railing and door casing in sound new paint, with every old chip bagged rather than left in the soil.

Process

  1. Before work Paint test on the porch parts, and a check that the house is outside the Historic District.
  2. Day one Plastic on the deck and the ground, worn paint misted and scraped, chips bagged in the evening.
  3. Day two Edges smoothed with HEPA-fitted sanders, the wood wiped down and primed.
  4. Day three Two finish coats, the plastic folded inward and bagged, and a look round for stray chips.

Planning right

  • A power washer on lead paint scatters chips over the garden beds, so this porch is scraped by hand onto plastic.
  • Steilacoom soil already holds lead and arsenic from the old Tacoma smelter. Keeping paint chips off it avoids adding to that.
  • Inside the Historic District, check with the town before a new paint color or new porch parts.
  • Two coats protect a worn railing better than one. The top rail takes the most weather.

Get a free quoteMore about exterior lead paint removal

New door casing and baseboard in place of lead-painted trim

Example project

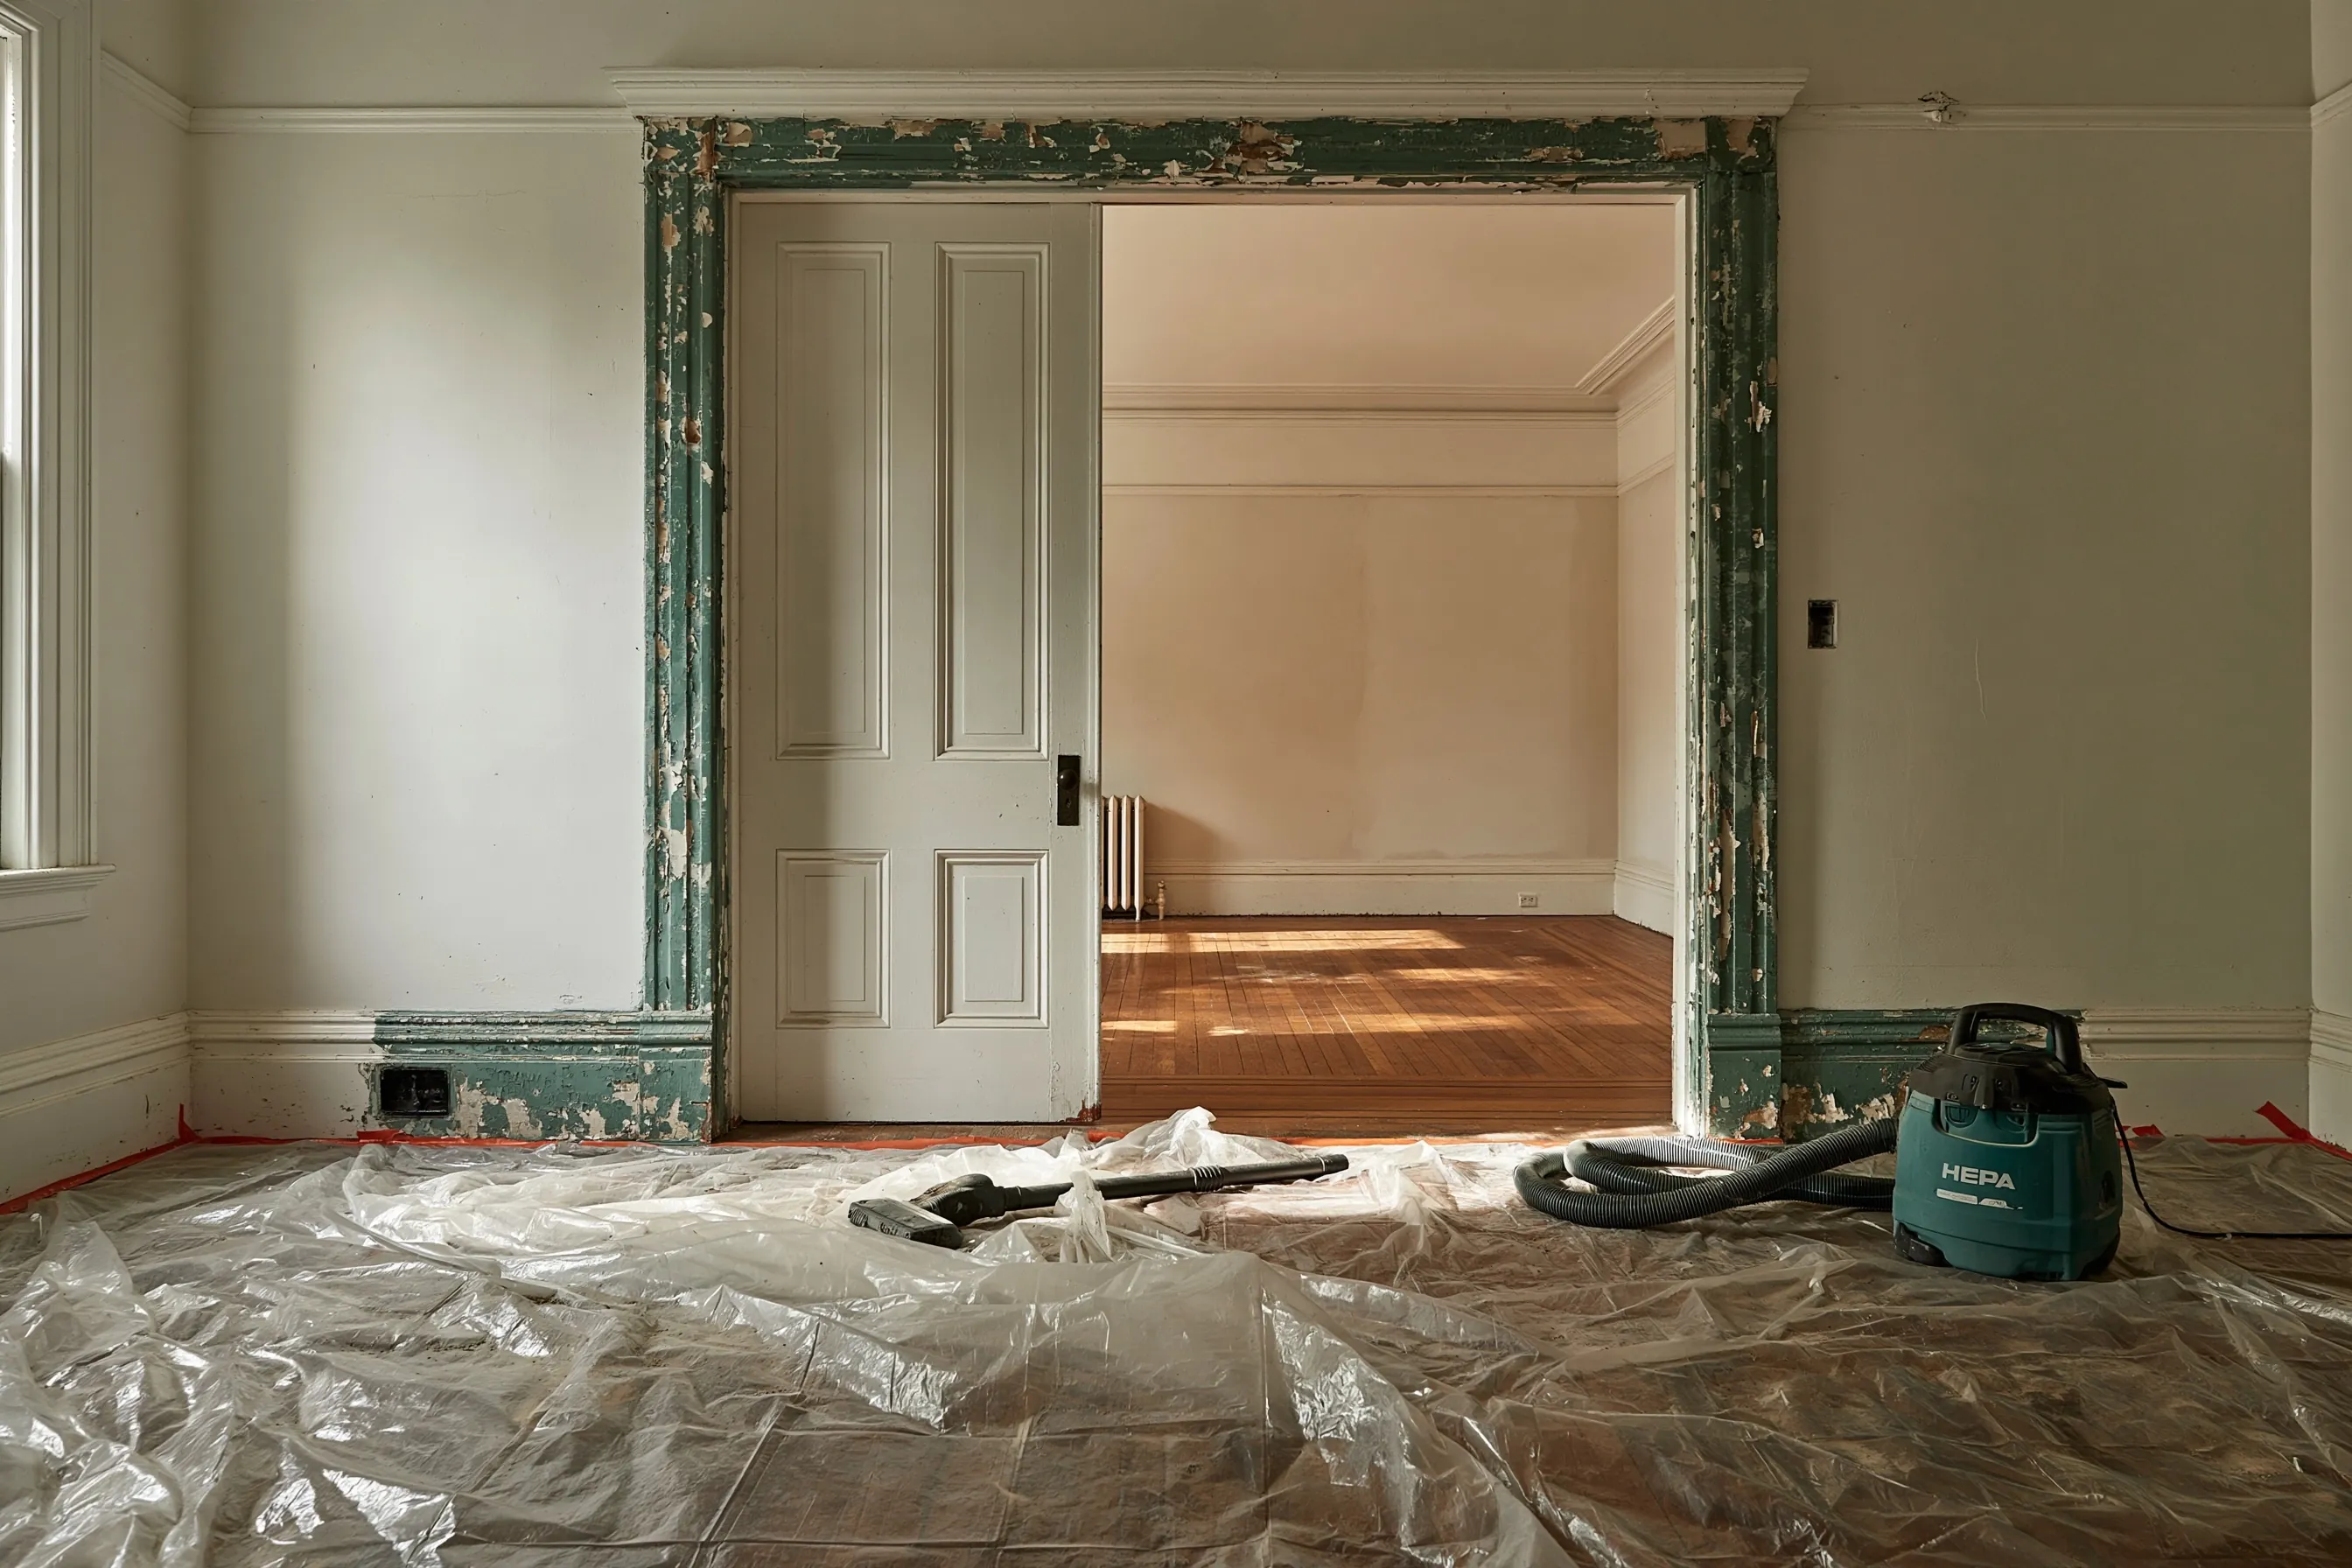
Doorway with flaking green paint on the casing and baseboard, plastic sheeting on the floor and a HEPA vacuum
Home
1940s single-story house in University Place
Original request
Remove the flaking door casing and baseboard that a risk assessment named as the main hazard
Testing
Lead paint on the casings and baseboards; the walls tested clear
Surfaces
Door casings, baseboards and the door edges in the front room
Work
Old casing and baseboard taken out in whole pieces and replaced with new trim of the same shape
Timeline
Notice to the state five business days ahead, three working days, then clearance
Estimated cost
$3,900

Scope of work

The front room sealed with plastic and the floor covered, casing and baseboard misted and pried off in whole pieces, wrapped and bagged, new trim milled to the same shape and fitted, the door edges stripped where they rub, HEPA vacuuming and wet wiping, and a clearance test of floors, sills and troughs before the room is used again. Painting the new trim is extra.

Project overview

In this example, a risk assessment in a 1940s University Place house names the flaking green paint on one room’s door casings and baseboards as the main lead hazard in the house. The family has a toddler and wants that paint gone for good, not sealed in.

Replacing the trim is quicker here than stripping it, and it makes less dust because the pieces come off whole. As abatement, the firm sends the state notice five business days before work starts, the household stays away until the room passes clearance, and the new trim is milled to match the old shape so the room keeps its look.

The goal

The goal is a front room with new trim that matches the old, no lead paint left on it, and a clearance report on file.

Process

  1. A week ahead Notice sent to the state and the new trim ordered to the old shape.
  2. Day one Room sealed off, casing and baseboard misted and taken out whole, wrapped and bagged.
  3. Day two New trim fitted; door edges stripped where they rub.
  4. Day three HEPA vacuuming, wet wiping and dust samples for clearance.
  5. Once results pass The family moves back in and the new trim is painted.

Planning right

  • Trim that comes off in one piece keeps most of its paint on the board, not in the air.
  • Heating vents and radiators in the room are covered too, so dust is not carried round the house.
  • Book somewhere to stay for three or four nights. The household is out until clearance passes.
  • The clearance report is part of what you pass on if the house is sold or rented.

Get a free quoteMore about interior lead paint abatement

Lead inspection before selling a 1970s house

Example project

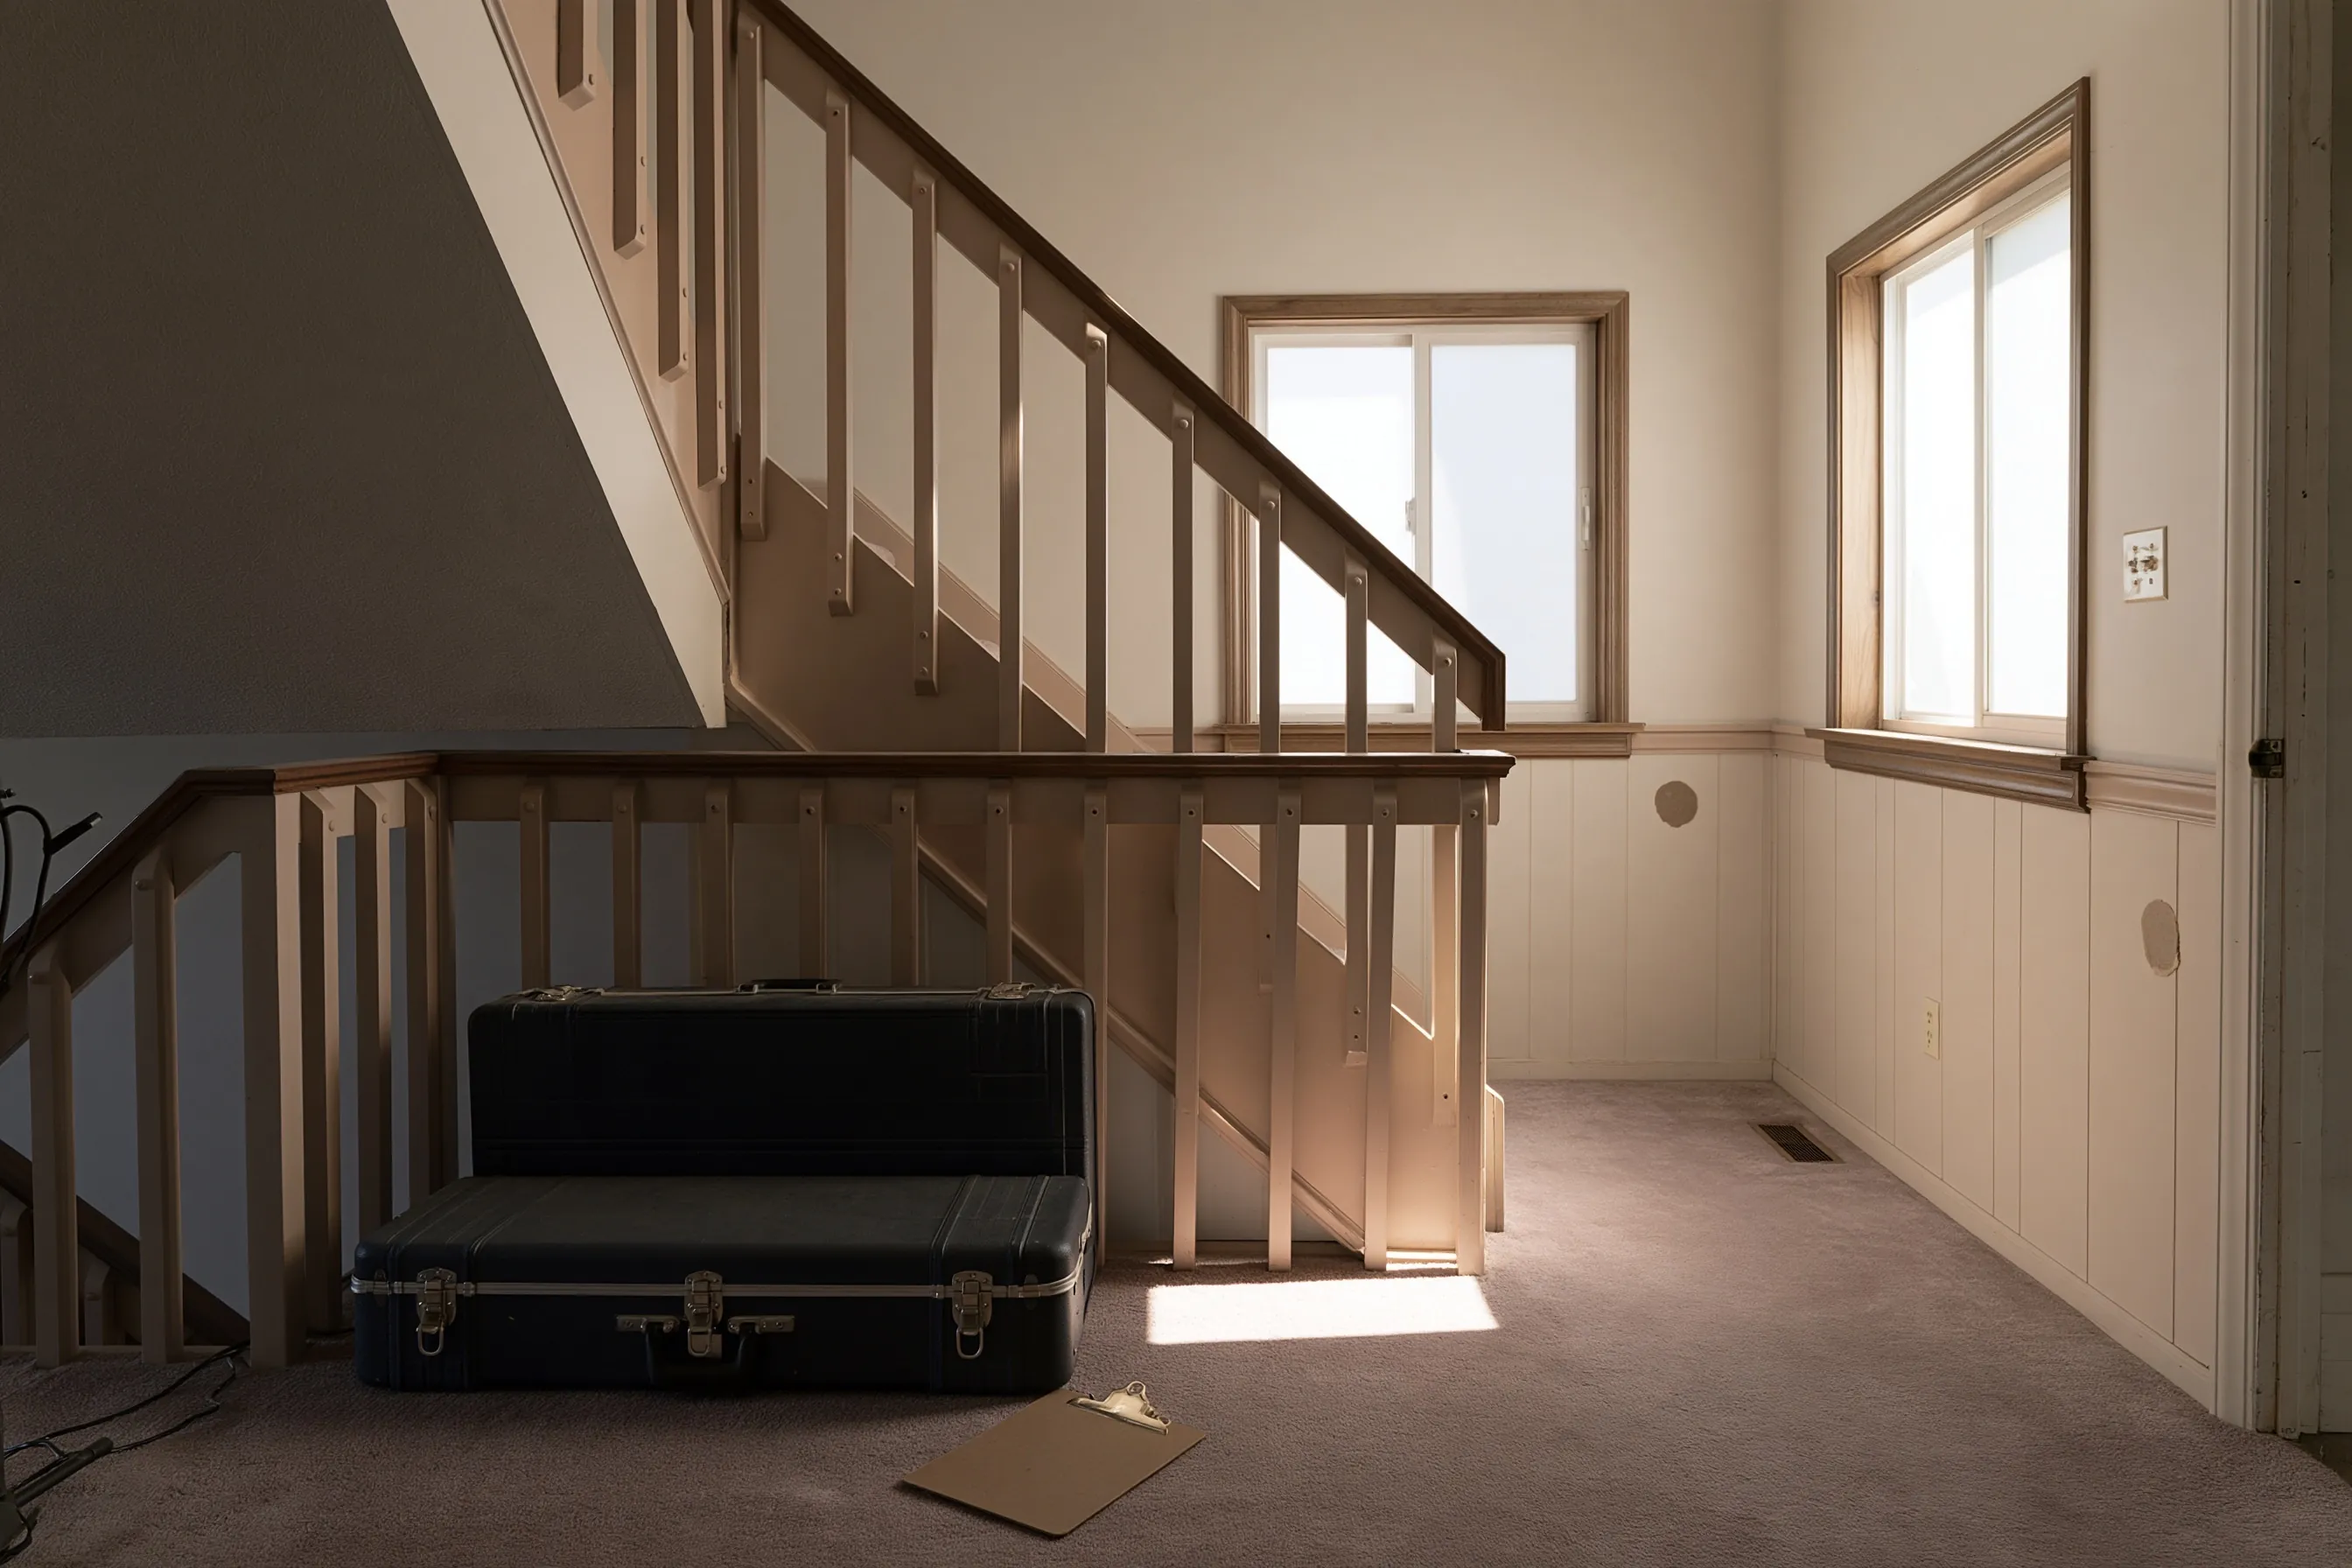
Split-level stair landing with painted wood railings and paneled wainscot, a closed black instrument case and a clipboard on the carpet
Home
Split-level house in Lakewood built in 1972, about 2,000 sq ft
Original request
Know about lead paint before listing the house for sale
Surfaces
Stair railings, paneled wainscot, window trim, doors and siding
Testing
Room-by-room inspection of every painted part, inside and out
Finding in this example
Lead paint on the original exterior trim only; walls, doors and trim inside are clear
Timeline
A morning visit, with the written report about a week later
Estimated cost
$650

Scope of work

Readings on every painted part of the house inside and out, paint chips sent to a lab where a reading is unclear, and a written report listing each part as lead paint or not. Any repairs are priced separately.

Project overview

In this example, the owners of a Lakewood house built in 1972 plan to sell. Because the house is older than 1978, buyers get a lead warning in the contract and any lead reports the sellers hold, and many ask for their own test within the 10 days the rules allow.

An inspection before listing puts the facts on the table first. Here it finds lead paint only on the original exterior trim and none inside. The sellers can repaint that trim lead-safe or simply disclose it, and buyers see a report instead of a question mark.

The goal

The goal is a sale with no surprises about lead, and a report that shows buyers exactly where it is.

Process

  1. Before listing Build year confirmed from the county record.
  2. Visit Readings on each painted part, room by room, then outside.
  3. Within a week Report listing each painted part as positive or negative for lead.
  4. At listing The report goes into the disclosure papers for buyers.

Planning right

  • A report that finds lead paint has to be shared with buyers. Talk it through with your agent before booking.
  • A clean result inside means later interior projects need no lead-safe work on those parts.
  • Buyers can shorten or waive their 10-day test in writing, but many keep it.
  • Built in 1978 or later? Then none of this applies.

Get a free quoteMore about lead inspection and risk assessment

Replacing ten original windows in a 1950s house

Example project

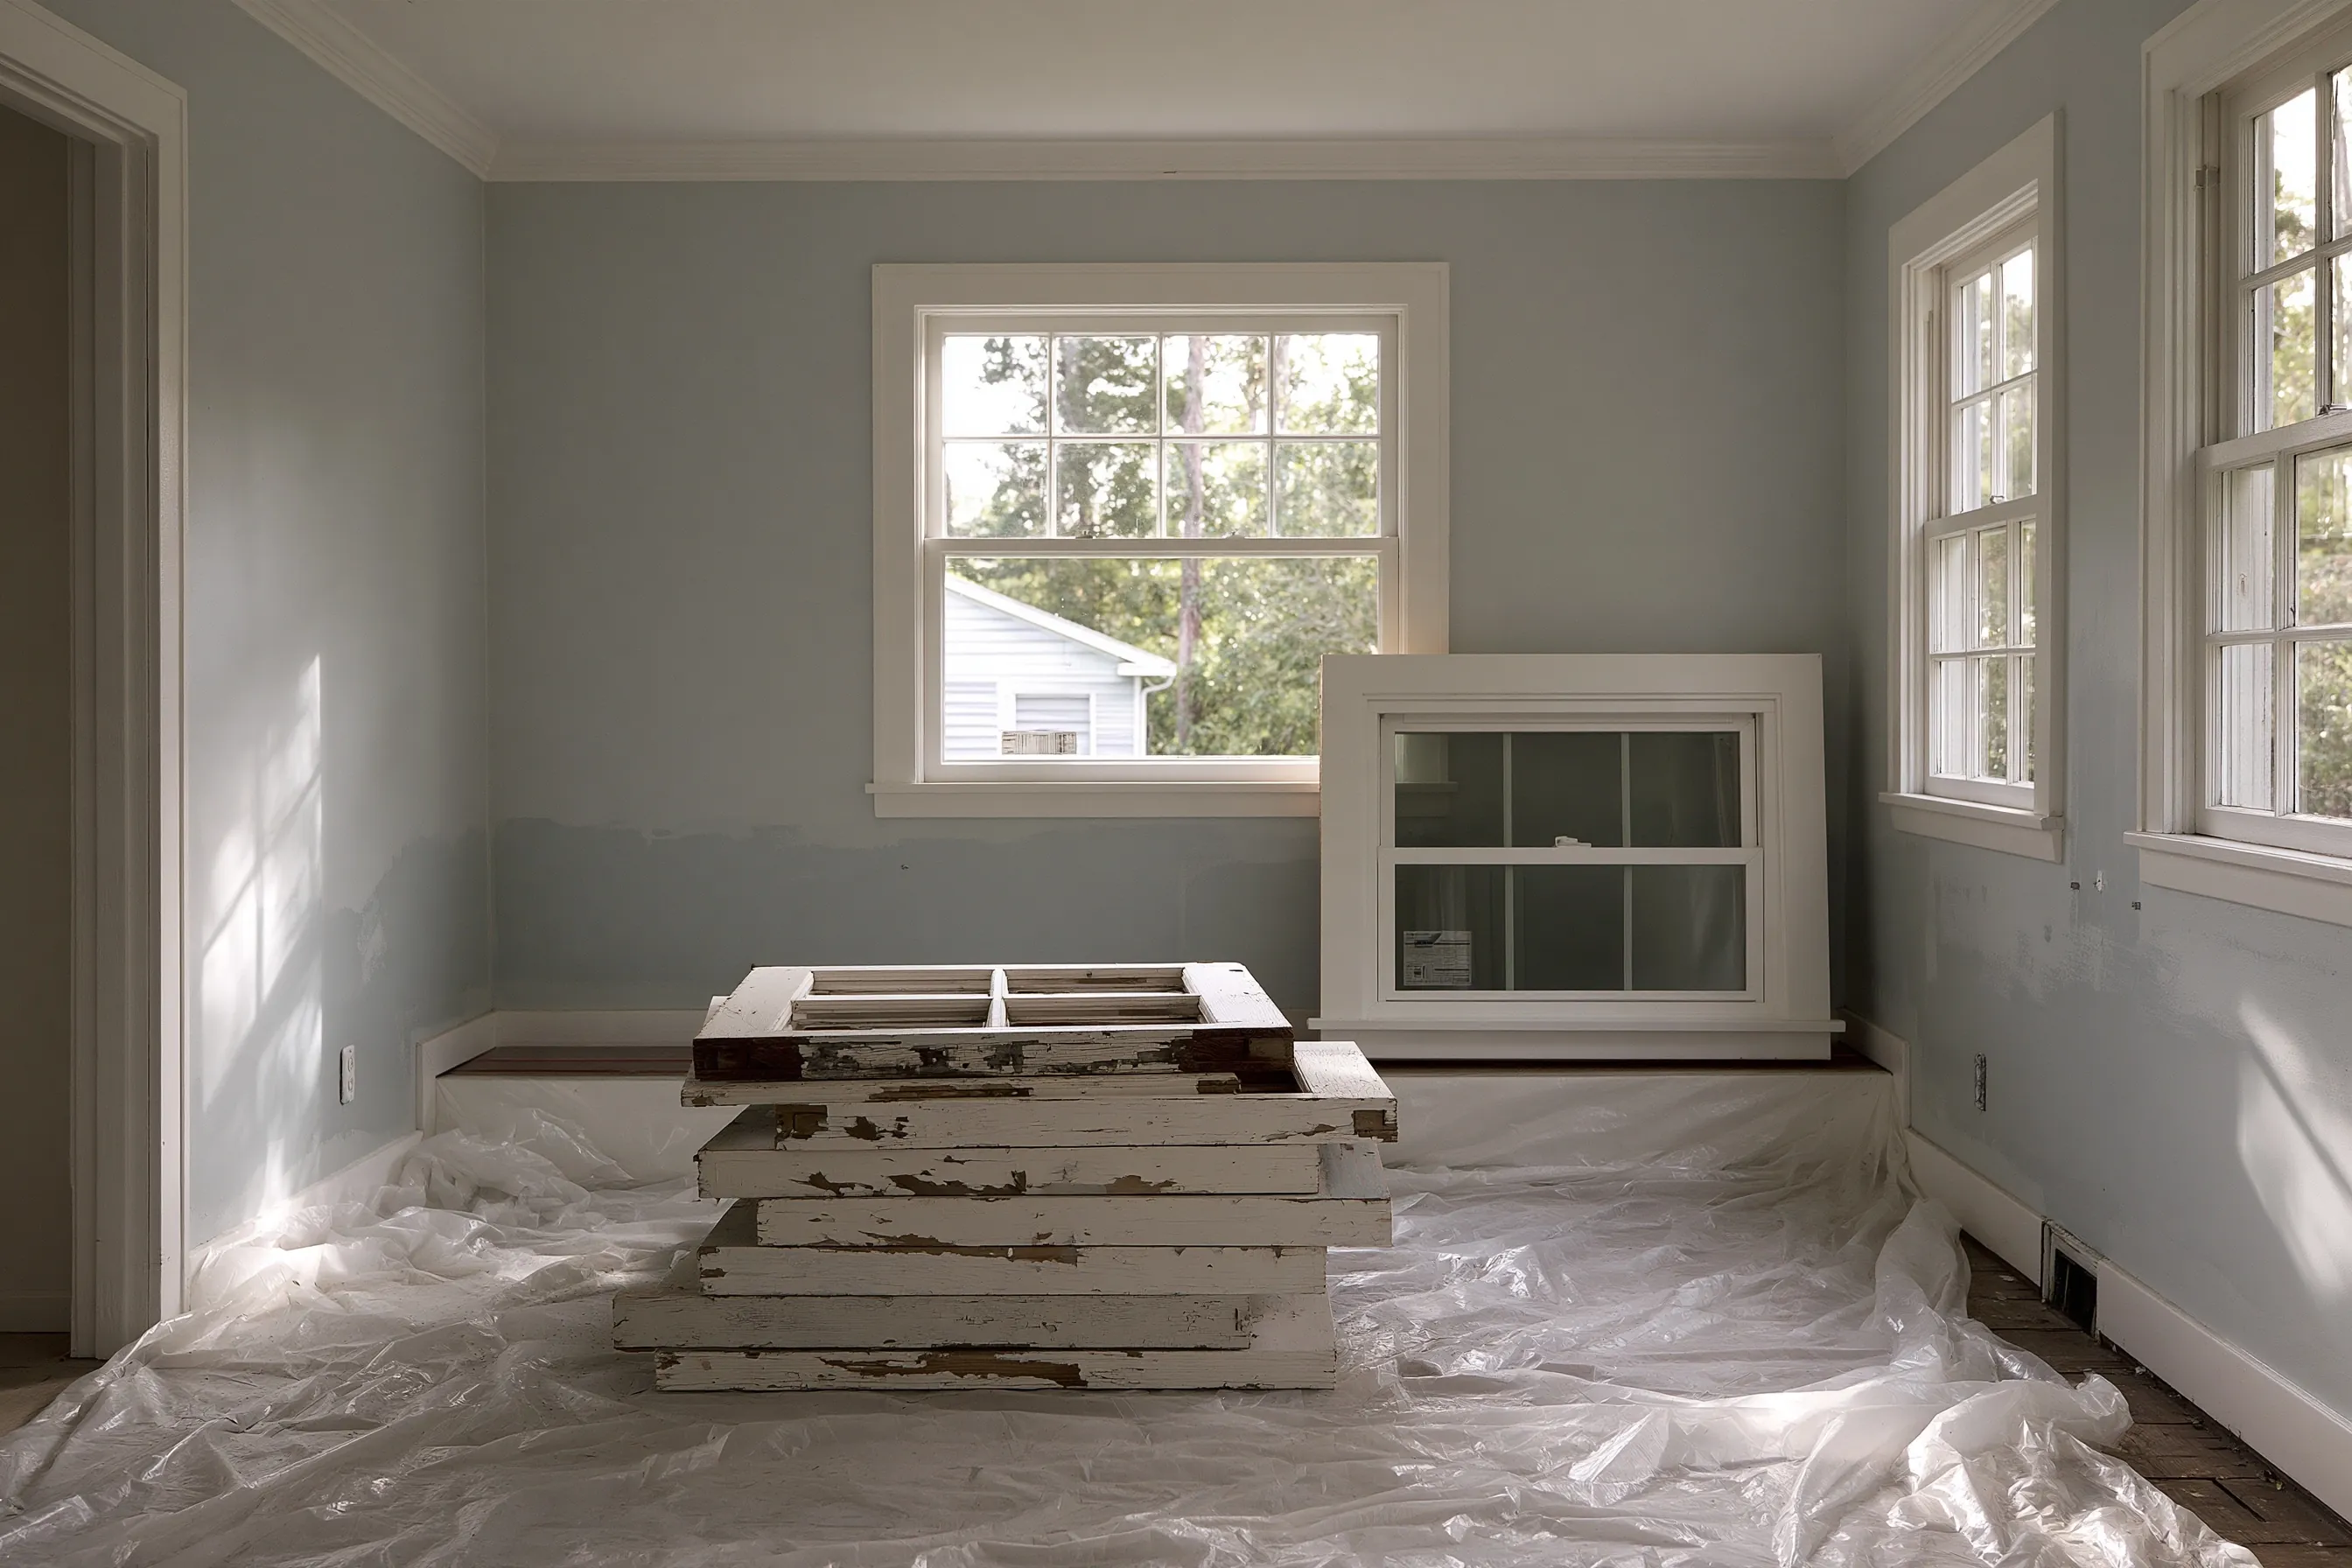
Bedroom with old paint-chipped wood sashes stacked on plastic sheeting and a new double-hung window leaning ready below a window
Home
1950s single-story house in Lakewood, about 1,300 sq ft
Original request
Replace the original wood windows, which stick and leave paint dust on the sills
Testing
Lead paint on the sashes, stops and sills; the walls tested clear
Windows
Ten wood double-hung windows replaced with new units
Work
Plastic inside and out, sashes and stops taken out whole, new windows set, cleanup and a cleaning check
Timeline
City building permit first, then four working days
Estimated cost
$9,200

Scope of work

Plastic on the floor inside each window and on the ground outside, sashes, stops and parting beads misted and taken out whole, the new windows set and sealed, disturbed trim patched, HEPA vacuuming and wet wiping each day, a cleaning check of every sill and floor, and bagged disposal. The city building permit is extra.

Project overview

In this example, the owners of a 1950s Lakewood house want new windows. The original wood sashes stick, and white dust collects on the sills each time they are opened. A test shows lead paint on the sashes, stops and sills.

Replacing windows in a house built before 1978 always runs under lead-safe rules, however few windows are involved. The work goes a few windows at a time with plastic on both sides of the wall, and the City of Lakewood building permit for replacement windows is in hand before the windows are ordered.

The goal

The goal is ten new windows that open freely, no more paint dust on the sills, and lead-safe records for the house file.

Process

  1. Before ordering Paint test, windows measured and the city building permit applied for.
  2. Days one to three Three or four windows a day taken out with plastic inside and out, and the new units set the same day.
  3. Day four Trim patched, HEPA vacuuming and wet wiping, and a cleaning check of every sill and floor.

Planning right

  • That white dust on the sills is worn paint. Wipe it up with a damp paper towel rather than dusting or vacuuming.
  • The trim around new windows may still hold lead paint, so any later sanding of it needs the same care.
  • Each opening is closed by the end of the day, so the house is never left open overnight.
  • Windows are made to size, so order them only once the permit is in hand.

Get a free quoteMore about lead-painted windows and doors

Covering lead-painted plaster walls with new drywall

Example project

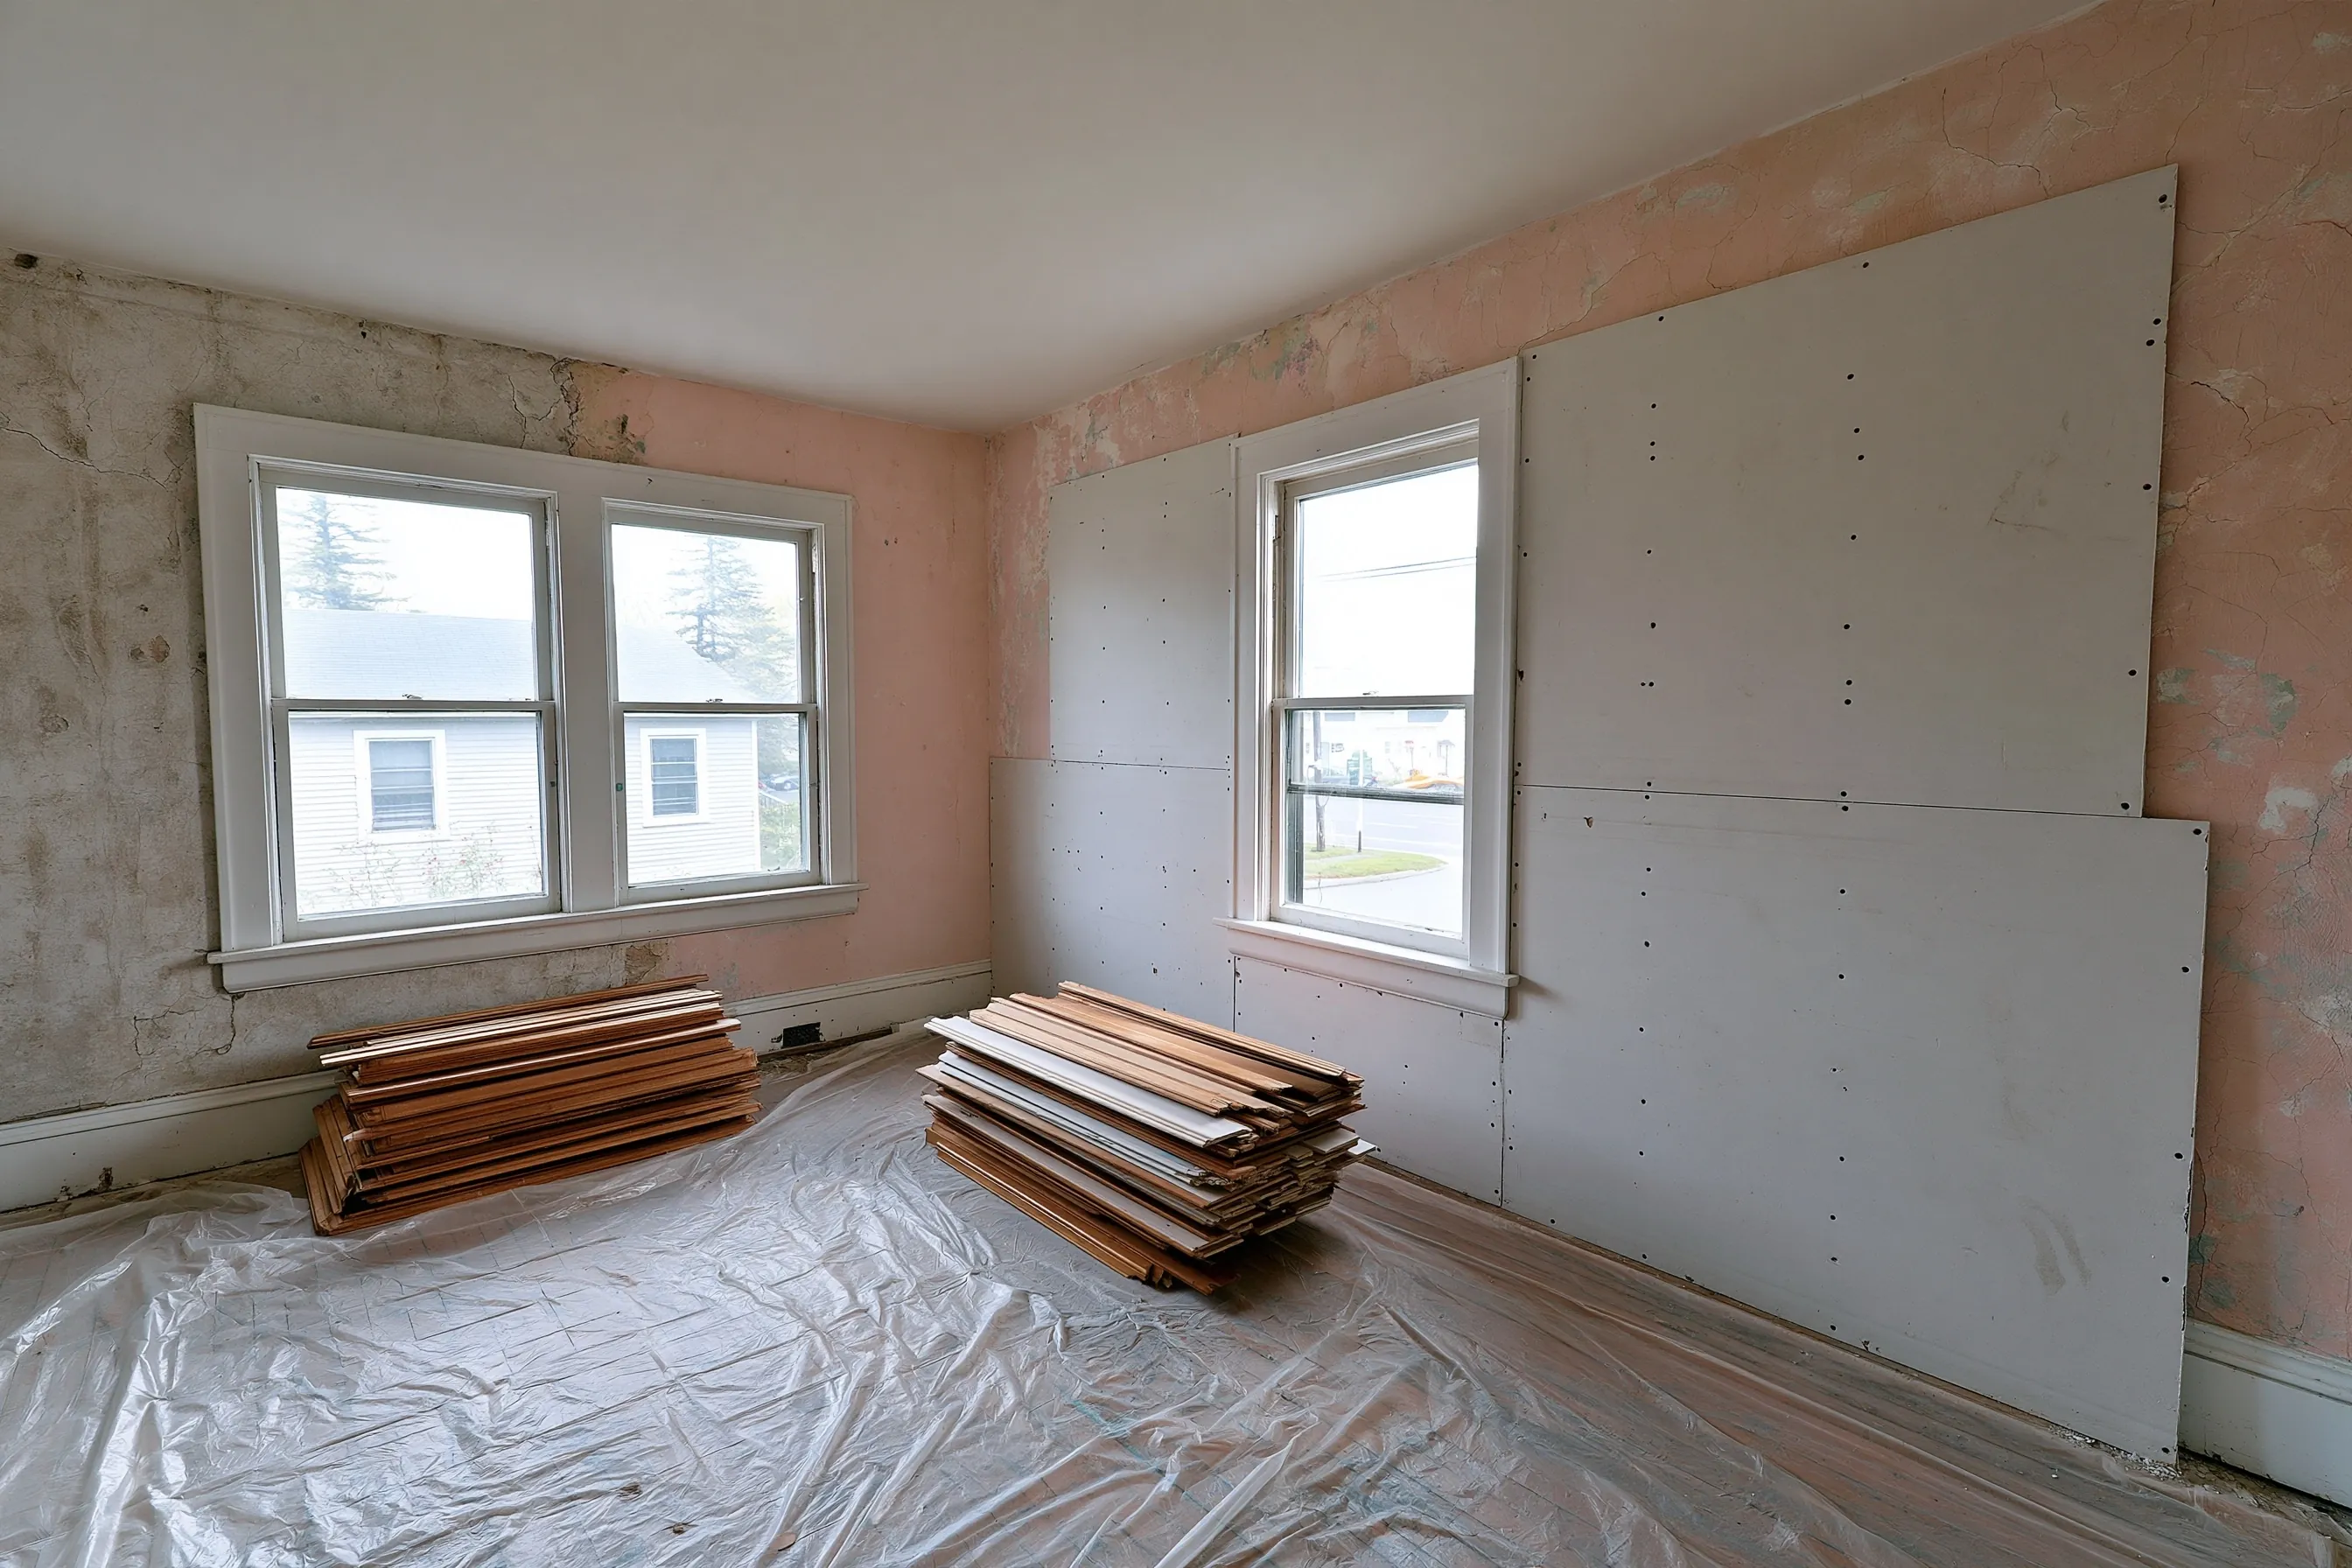
Bedroom with new drywall screwed over cracked painted plaster on one wall, bare plaster on the other and removed trim stacked on plastic
Home
1940s house in Lakewood with plaster walls
Original request
Deal with cracked lead paint on a bedroom’s plaster walls without stripping them
Testing
Lead in the lower paint layers on the bedroom walls; the paint is cracked and worn through in patches, the plaster sound
Area
About 350 sq ft of wall in one bedroom
Work
New drywall screwed over the plaster, seams sealed, trim refitted, then paint
Timeline
Notice to the state five business days ahead, then four working days
Estimated cost
$4,600

Scope of work

Floor covered and the room sealed, loose paint misted and scraped off, HEPA vacuuming, baseboards and casings taken off and set aside, new drywall screwed through to the framing with every seam and edge sealed, the trim refitted on top, primer and paint, and a clearance test.

Project overview

In this example, a bedroom in a 1940s Lakewood house has plaster walls with lead in the lower layers of paint. The paint has cracked and worn through in patches, though the plaster under it is still sound. Stripping plaster is slow and messy, and the owners want a lasting fix.

Enclosure covers the old surface instead. New drywall is fixed over the plaster and every seam is sealed, so the lead paint stays behind a solid layer. As a permanent fix it counts as abatement, with notice to the state, the room closed until clearance, and a note in the house records of what is under the drywall.

The goal

The goal is smooth new bedroom walls with the cracked lead paint sealed behind them for good, and a record of where it is.

Process

  1. Before work Notice sent to the state and the drywall ordered to size.
  2. Day one Room sealed, loose paint misted and scraped, trim taken off and set aside.
  3. Days two and three Drywall fixed over the plaster, seams taped and sealed.
  4. Day four Trim refitted, primer and paint, HEPA cleanup and the clearance samples.

Planning right

  • Drilling and screwing through old paint still makes some dust, so the room is sealed as for any lead work.
  • Outlets and switches need box extensions to sit flush with the new wall.
  • Write down which walls are enclosed. Anyone cutting into them later will reach lead paint.
  • The new layer adds about half an inch to each wall, so the door and window trim is checked for fit.

Get a free quoteMore about lead paint encapsulation and enclosure

Exterior paint removal on a two-story house with a long porch

Example project

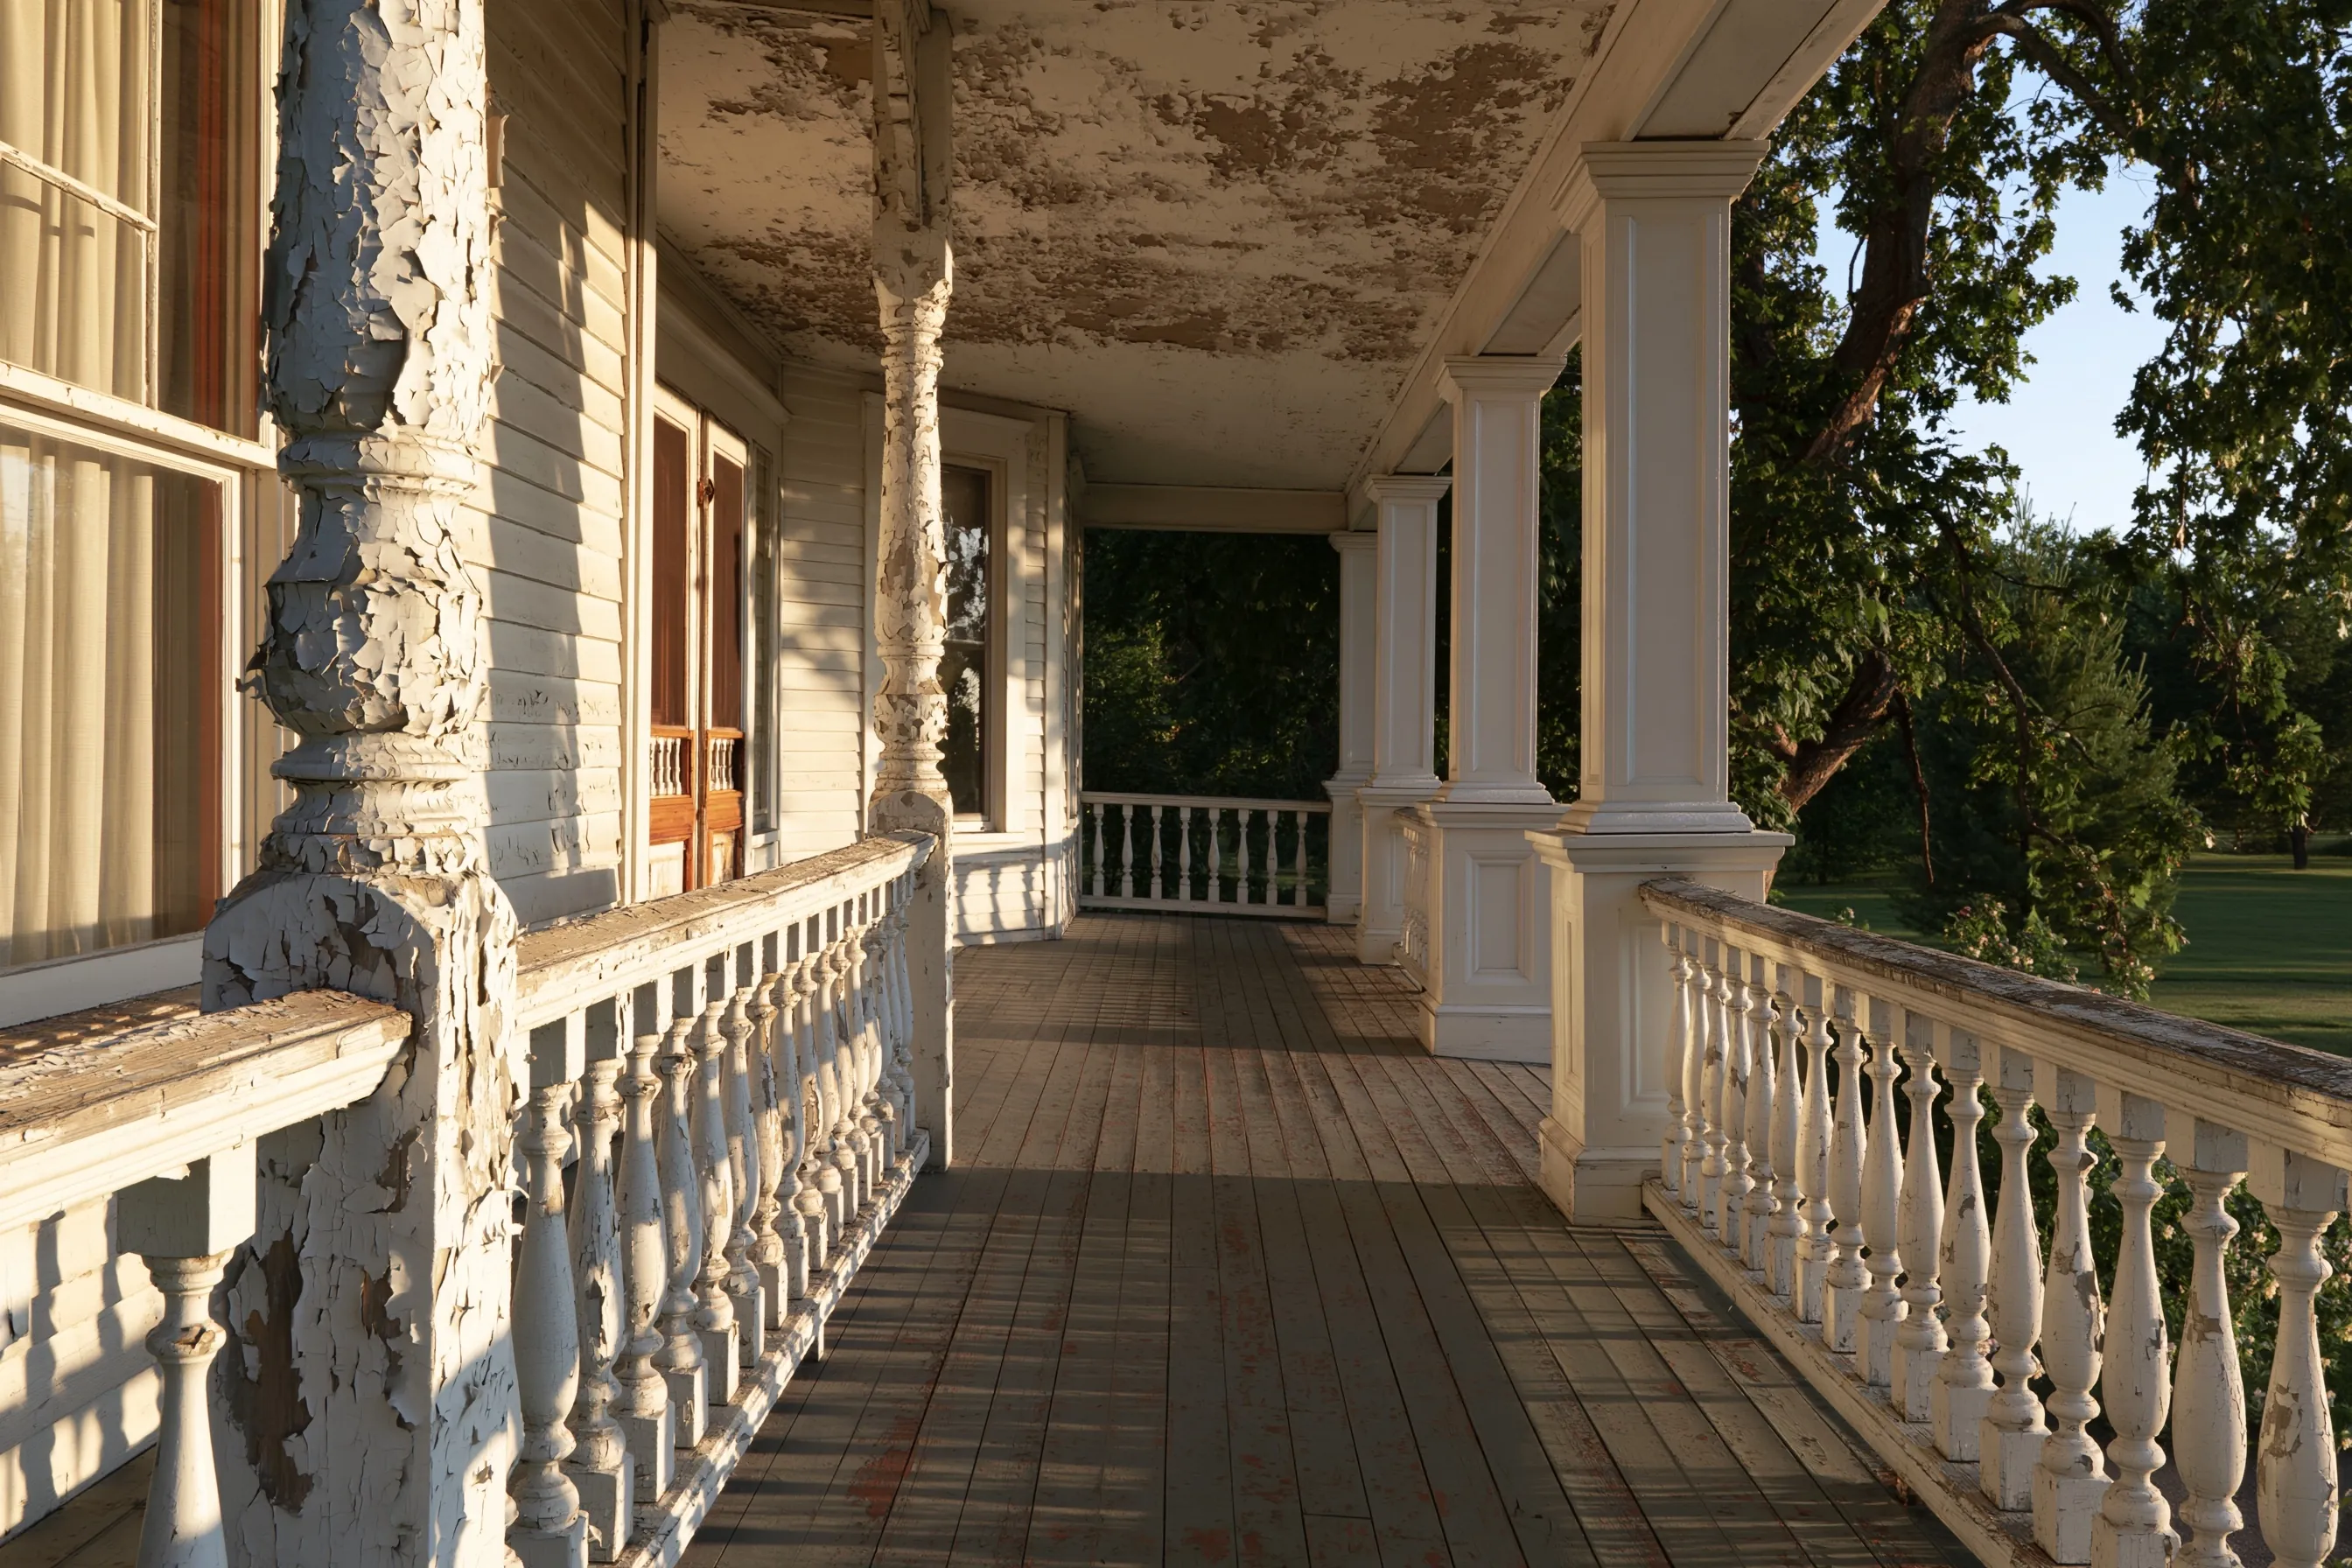
Deep porch on an older house, its turned columns, balusters and ceiling boards shedding paint
Home
Two-story house in Lakewood built before 1940, about 2,800 sq ft, with a long front porch
Original request
Strip and repaint the outside, where the porch paint is peeling badly
Testing
Lead paint on the porch columns, balusters, rails and ceiling, and on the window trim and siding
Surfaces
Porch columns, balusters and ceiling, siding, window trim, fascia and eaves
Work
Wet scraping and HEPA-fitted sanders, scaffolding on the two-story walls, primer and two coats
Timeline
Four to five weeks between late June and September
Estimated cost
$24,500

Scope of work

Plastic along every wall and over the porch deck and planting beds, scaffolding on the two-story walls, loose paint misted and scraped off by hand, edges and the turned columns sanded only with tools fitted to HEPA vacuums, chips picked up every evening, then primer and two coats on the siding, trim, porch and eaves. Rotten boards and porch repairs would be extra.

Project overview

In this example, the owners of one of Lakewood’s older houses, a two-story home built before 1940, plan to repaint the outside. The paint on the long front porch is peeling from the turned columns, the balusters and the porch ceiling, and a test shows lead paint on most of the exterior.

On a house this size the wet season sets the schedule. The work is booked for the summer and done wall by wall, so plastic only goes down where work is under way and every chip is picked up the same day. Scaffolding on the two-story walls and the detailed porch take the job toward the upper part of its range.

The goal

The goal is a house and porch in sound new paint, with the peeling lead paint gone and none of it left in the yard.

Process

  1. Spring Paint test, a check for rotten boards, and a start date set for late June.
  2. Week one Scaffolding up, plastic down along the first walls and the planting beds covered.
  3. Weeks two and three Walls scraped wet and sanded with HEPA-fitted tools, then primed, one side at a time.
  4. Week four Porch columns, balusters and ceiling stripped and primed.
  5. Last week Two finish coats all round, the plastic bagged, and the yard checked for chips.

Planning right

  • Lakewood soil already carries lead from the old Tacoma smelter. Chips from the house would add to it, so none go on bare ground.
  • Turned columns and balusters take far longer than flat siding. Replacing a badly split one can cost less than stripping it.
  • Primer needs dry wood, so painting days wait for a dry forecast.
  • Ask for the test report in writing. Any later work on the house will need it.

Get a free quoteMore about exterior lead paint removal

Request a free lead paint removal quote

Say whether the home is rented or lived in by its owner, give a rough build year and the address, and list the rooms or outside surfaces involved. We'll get back to you soon with an estimate or any questions we have. Estimates are free and there's no obligation.

Call (253) 201-4715

Call (253) 201-4715